How to Stock a Pantry for the First Time (The Right Way)
I still remember standing in my kitchen in March of 2020, watching the news coverage of empty store shelves spreading across the country, and feeling a quiet panic set in. At that point our household had maybe a week’s worth of food on hand — and by the time I got to the store, the shelves were already bare. Toilet paper, flour, canned goods, pasta — gone. And when things did come back in stock, purchase limits meant you could only buy so much at a time.
What made it worse was that I knew better. I had raised seven children on a well stocked pantry — bulk buying, rotation systems, cooking from scratch were second nature to me for years. But when the kids grew up and moved out, I had to completely relearn how to cook for just two people. Somewhere in that transition I convinced myself that a smaller household didn’t need a stocked pantry. March 2020 proved me very wrong.
That experience changed something in me. I realized that despite living on a small farm that we were not fully utilizing, I had no real system. No buffer. No security. Just a week’s worth of groceries and a lot of hope that nothing would go wrong.
So I started building one – again. And over the last five years I’ve developed a pantry system that has quietly transformed how we eat, shop, and live.
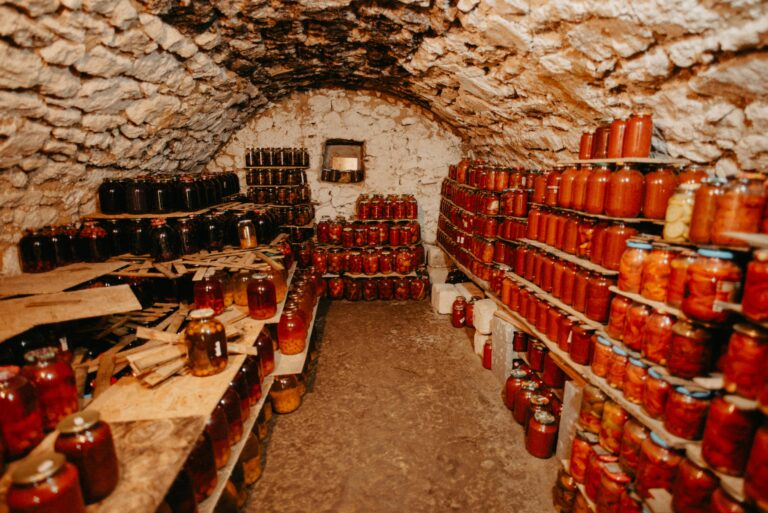
Today I go to the grocery store maybe once every 4-6 weeks in winter — and mostly just for fresh produce. Everything else comes from what we’ve grown, preserved, or stocked ourselves. We try to eat with the seasons. We buy local. We grow our own. And we haven’t felt that particular panic since. I have built a pantry I am proud of, and that could feed us for up to a year should the need arise.
With today’s unpredictable food prices, supply chain uncertainties, and growing concerns about what’s actually in our food supply, I think about that March morning in 2020 more than ever. And I’m grateful every single day that I built this system when I did.
If you are ready to learn how to stock a pantry for the first time the right way — this guide is for you.
Here’s what I’ve learned about why most people struggle with this — and exactly how to do it right.
Why Most First Time Pantry Stockers Get It Wrong
Walk into most first time pantry stockers’ homes and you’ll find the same thing — shelves full of canned vegetables nobody likes, bulk bags of grains nobody knows how to cook, and survival food that tastes like cardboard.
The problem isn’t the intention. The intention is great! The problem is the approach…
Most people stock a pantry based on what they think they should have instead of what they actually use. They follow a generic list from the internet written by someone who doesn’t know their family, their tastes, or their cooking habits.
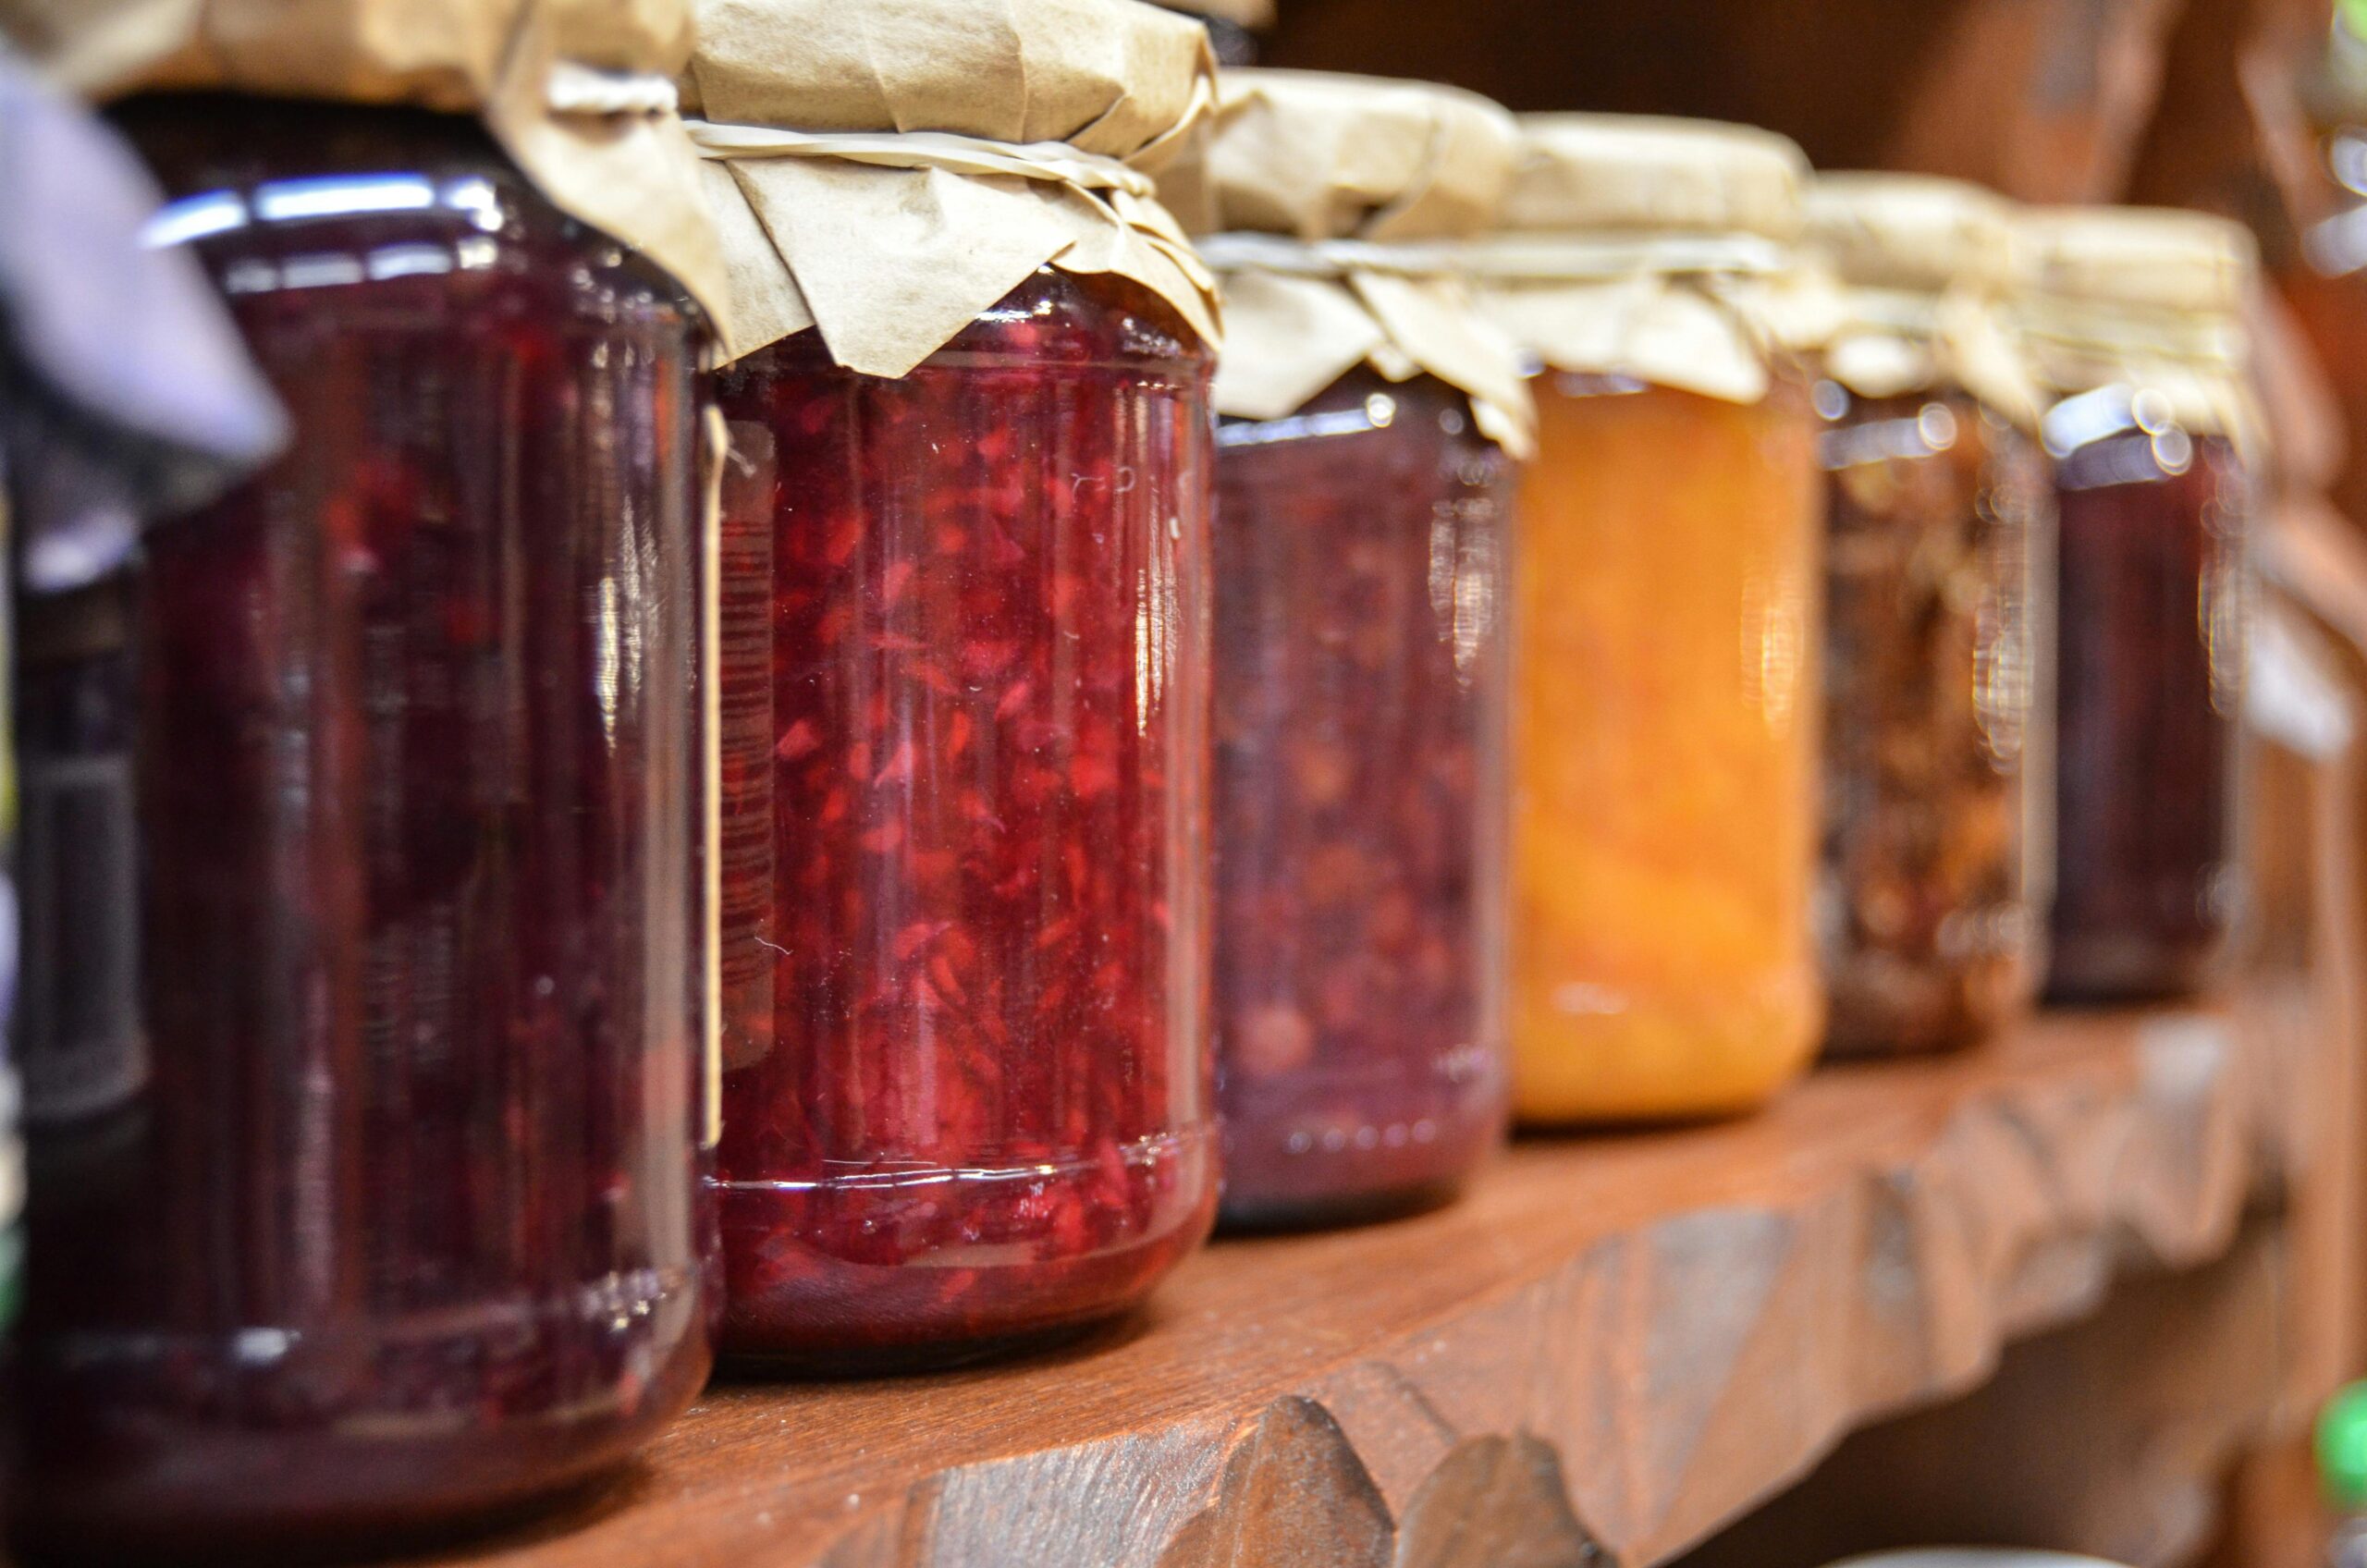
A real pantry system isn’t a bunker. It’s a living, rotating extension of your kitchen. And it only works if it’s stocked with food your family already loves to eat.
Step 1: Stock What You Actually Eat
Before you buy a single can of anything, start here: go to your kitchen right now and look at what you actually cook. Do you eat spaghetti one night a week? Do you have Taco Tuesday? Do you actually use wheatberries or dried beans?
What meals does your family eat every week without fail? What ingredients do those meals require? That’s your pantry list — not a generic list from the internet, but your list, built around your family’s real eating habits. This is step one: stock what you actually eat.
Here’s a practical exercise to get you started. Write down 10 meals your family eats regularly. Then list every ingredient each meal requires. Now cross reference that with what you already have. What’s missing? That’s what you buy first.
This approach does something most pantry stocking methods completely miss — it guarantees your food actually gets used. When you stock what you eat, you naturally rotate your pantry because you’re cooking from it every single week. Nothing sits forgotten on a shelf. Nothing expires. Nothing gets wasted.
Now — rice and beans are on almost every pantry staples list you’ll find online. And for good reason. They store for a very long time and cost very little. But if your family doesn’t eat rice and beans, they will just sit there and go to waste like everything else. The solution isn’t to skip them — it’s to start incorporating them into your weekly meals now. Learn how to cook them. Find recipes your family actually enjoys. That way when they’re in your pantry, you know exactly what to do with them and you know they’ll actually get used.
Step 2: Build a Rotation System
Stocking what you eat is step one. Step two is making sure that food actually gets used before it expires — and that requires a rotation system.
The rule is simple: first in, first out. When you buy new cans of tomatoes, the new ones go to the back and the older ones come to the front. You always cook with the oldest items first. It sounds simple because it is — but most people skip this step entirely and wonder why things keep expiring.
Here’s how to make it practical in real life.
When you bring groceries home, take two extra minutes to date everything with a marker before it goes on the shelf. Just the month and year — nothing fancy. This one habit has made a world of difference in my own pantry. I also use a simple post-it note system — anything approaching its expiration date gets a post-it note so I know to prioritize it when I’m planning meals that week. It keeps nothing from slipping through the cracks.
Then organize your shelves by category. All tomato products together. All beans together. All grains together. When you can see everything clearly, rotation happens naturally because you always know exactly what you have. Once a month do a quick pantry audit. Pull things forward, check dates, and move anything expiring soon to the front where you’ll actually see and use it.
And when you use something, write it down immediately so it gets replaced before you need it. I keep a magnetic whiteboard on my fridge for exactly this — the moment I’m out of something or running low, it goes on the board, then I simply take a picture of it before I head to the store. No more getting to the store and forgetting what you needed.
A pantry without rotation is just a storage room. A pantry with a rotation system is a living part of your kitchen that works for you automatically — even when life gets busy and you’re not thinking about it.
Step 3: Start Small and Build Gradually
One of the biggest mistakes first time pantry stockers make is trying to do too much too fast. They want a year’s worth of food immediately and end up spending a fortune, buying the wrong things, and getting overwhelmed before they even get started.
Start smaller. Build a two week supply first.
A two week supply is manageable, affordable, and gives you a real foundation to build from. It’s enough to get through a winter storm, a job disruption, the first weeks of a pandemic (like we all experienced in 2020), or a week when nobody has time to grocery shop. And once you have two weeks built up, expanding to a month feels natural instead of overwhelming.
Here’s the simple approach: every time you shop, buy a little extra of what you already use. If you normally buy one jar of pasta sauce, buy two. If you normally buy one bag of rice, buy two. Over the course of a few weeks your pantry builds itself without any single large investment. Two weeks becomes a month. A month becomes three months. Three months becomes a year. You build it gradually, intentionally, and without breaking the bank.
Step 4: Store It Properly
Once you have a system for what to buy and how to rotate it, the next question is how to store it properly. And this is where a lot of people lose food unnecessarily — not because they bought the wrong things, but because they stored them in the wrong way.
The enemy of a well stocked pantry is air, moisture, light, and pests. The right containers protect your food from all four.
Here’s what actually works:
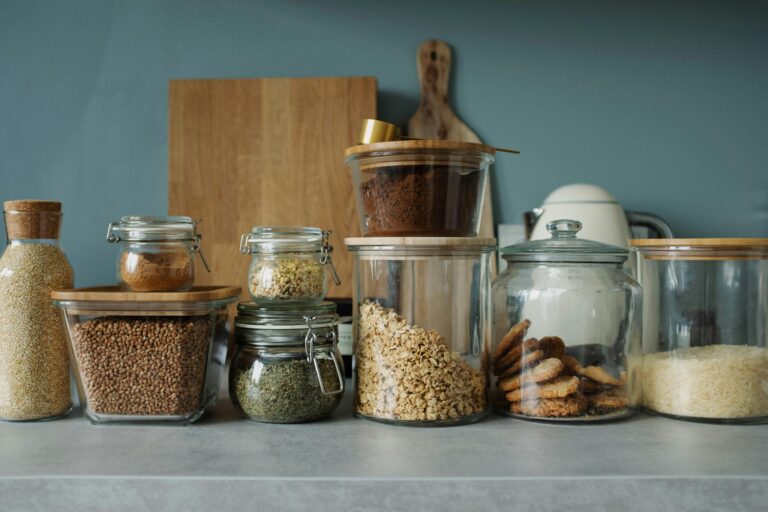
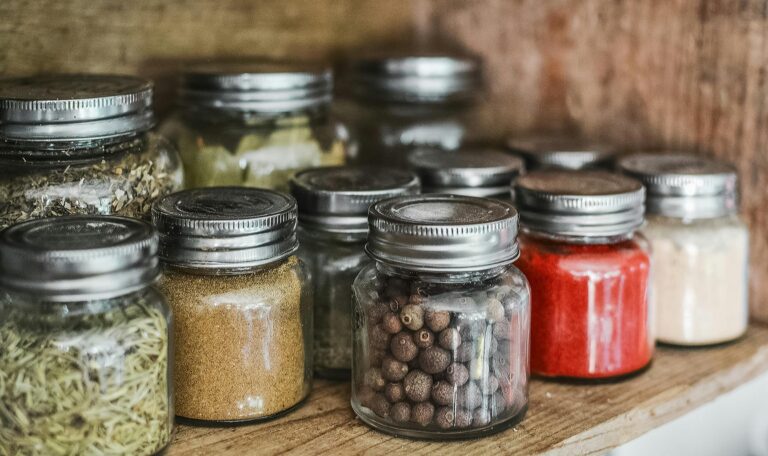
For dry goods like flour, sugar, rice, oats, and pasta — airtight containers like these are non negotiable. The original packaging is rarely enough. Transfer everything into airtight bins like these or large mason jars and you’ll dramatically extend shelf life. If you have a vacuum sealer like this one, this is a perfect opportunity to use the jar attachment! (Don’t forget the vacuum bags!)
For longer term storage — these mylar bags with oxygen absorbers are the gold standard. Seal your dry goods in mylar, store them in food grade buckets like these (with gamma lids), and they’ll last years instead of months. Wheatberries alone will last 30 years when stored this way (though in my household, I grind enough wheatberries to make bread that it would never last that long!)
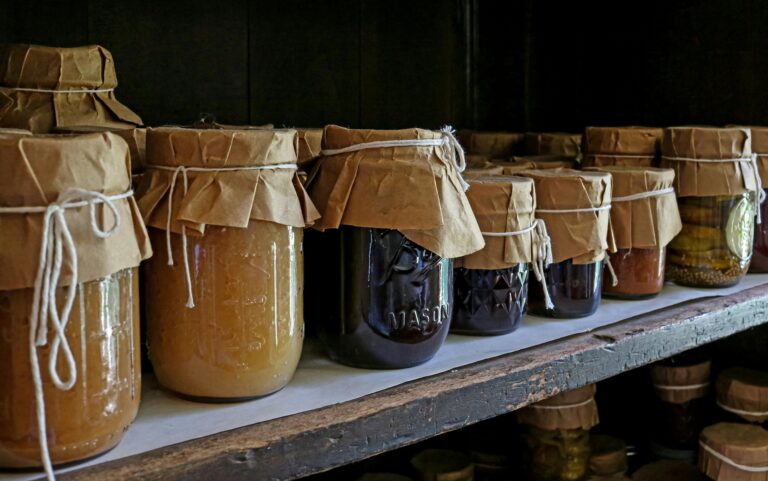
For canned goods — the can is the container. Just make sure you’re storing them in a cool dark place away from temperature fluctuations.
You don’t have to buy everything at once. Start with a good set of airtight pantry containers for your everyday staples and build from there.
Step 5: Find Your Storage Space
While I’m fortunate to have space for a large dedicated pantry, the truth is you don’t need a walk-in pantry or a special storage room to build a solid supply. Most people are genuinely surprised by how much usable space they already have once they start looking with fresh eyes.
The best storage locations share four qualities: cool, dark, dry, and away from temperature fluctuations. Here’s where to look in your own home:
Your existing pantry and kitchen cabinets are the obvious starting point — but don’t stop there.
A basement is ideal for larger quantities. The naturally cool year-round temperatures make it perfect for canned goods, food grade buckets, and anything you’re storing long term.
Spare closets work beautifully for overflow storage. A simple set of wire shelves transforms any closet into a functional pantry extension for very little money.
And don’t overlook the forgotten spaces. Flat storage bins slide perfectly under most beds and hold a surprising amount of food and household supplies. I keep a two year supply of toilet paper under my guest bed — and I restock my cleaning supplies from the long term reserve whenever I run low. Once you start thinking this way, storage space seems to appear out of nowhere.
Two of my favorite hidden storage spots that most people never think of: the space above a doorway and behind a door. A simple shelf above any doorway gives you a perfect spot for lighter items and overflow supplies. And standard sized cans fit perfectly on simple shelves built from basic 2x4s mounted behind a door — it’s an easy DIY project that adds meaningful storage without taking up a single square foot of floor space. If you can swing a hammer you can build it in an afternoon. If you don’t know how to swing a hammer, you could use shelves like this.
Whatever space you use, the key is keeping it organized and accessible. Food you can’t find or reach doesn’t get rotated and doesn’t get used. Label everything, organize by category, and make it easy to see what you have at a glance.
The Bottom Line
Building a well stocked pantry doesn’t happen overnight — and it shouldn’t. The goal isn’t to fill every shelf as fast as possible. The goal is to build a system that works for your family, your tastes, and your real life.
Start with what you eat. Build a rotation system. Grow your supply gradually. Store it properly. Use every inch of space you have.
Do those five things consistently and six months from now you’ll have a pantry that gives you real security, real savings, and real peace of mind. You’ll stop making last minute grocery runs for things you should already have. You’ll stop throwing away expired food you never touched. And you’ll start feeling the quiet confidence that comes from knowing your family is taken care of no matter what comes.
That’s what a real pantry system does. And now you know exactly how to build one.
Ready to take the next step? Check out these related guides:
- How to Build a Food Storage System on a Budget
- How to Stock a Pantry for 6 Months
- How to Go Months Without Going to the Grocery Store
If you found this helpful and want to know more about who’s behind Deep Roots Homestead — a 170 year old family farm in central Indiana where we grow, raise, preserve, and cook as much of our own food as possible — you can read my full story here.